Fruit Dissection
Spring is in full swing here in Maine, with birds singing, the days getting (slightly) warmer, and flowers blooming! Soon enough we will be able to relax outside and enjoy the sunshine while munching on some fresh fruit. But did you know that fruit are more than just a tasty snack? In this activity we will take a closer look at what makes a fruit a fruit! This activity is great for upper elementary school students, younger learners with adult supervision, or for curious teens and adults.
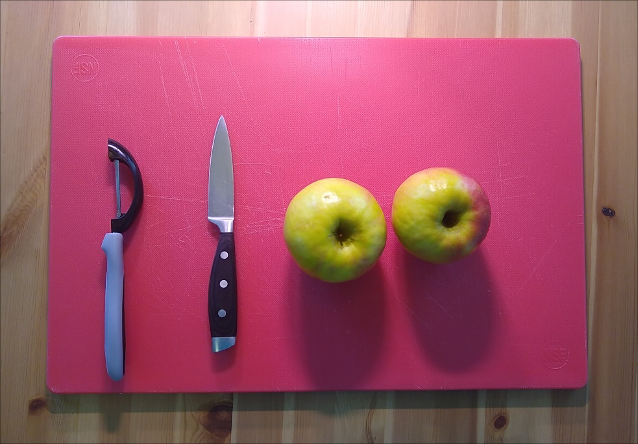
You will need two apples, a knife, a vegetable peeler, a cutting board, and an appetite!
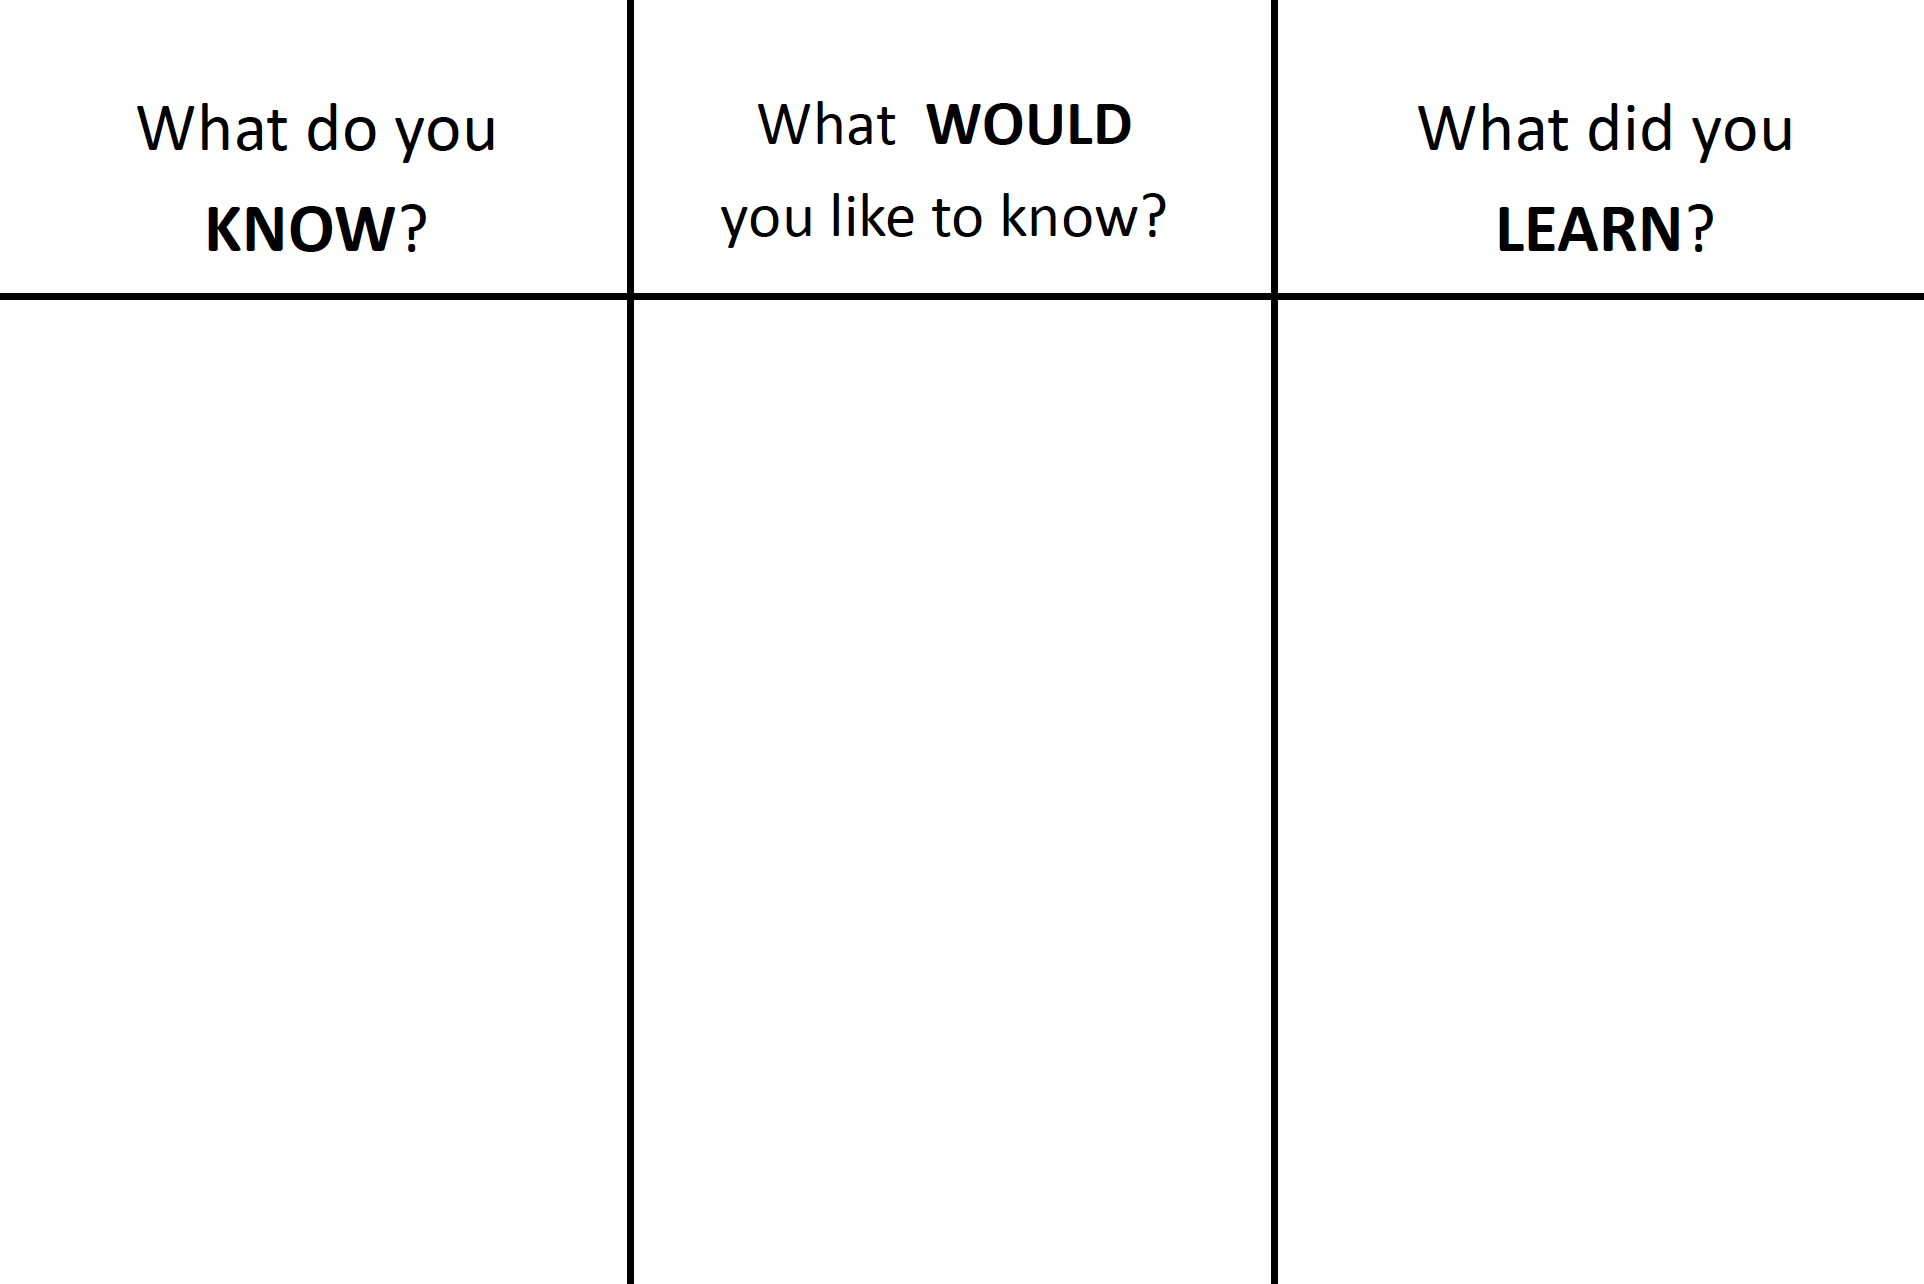
At the end of the instructions you will find a few activity-enhancing worksheets. First is a KWL chart, where you can fill out what you Know, what you Would like to know, and what you Learned. If you can’t print it off, have no fear! You can make your own KWL chart on a blank piece of paper. You will want to fill out the K and W columns before moving on to the instructions on how to successfully dissect your apples. Once you have successfully dissected your apples, there are some reflection activities at the end to fill out and keep learning. After you are all done, circle back to your KWL chart and fill out the final column with what you learned. Happy dissecting!
What’s a fruit?
What is a fruit? Simply, a fruit is a part of a plant that grows from a flower and carries seeds. Can you think of some examples of fruit? There are your obvious ones like apples, pears, and blueberries, but did you know that tomatoes, zucchini, and eggplants are also fruit? They all carry seeds and grow from the flower parts of a plant, so they are considered botanical fruits, but they are also culinary vegetables. The best way to think about it is that while foods like tomatoes, zucchini, and eggplants are technically fruits, you wouldn’t want to put them in your fruit salad!
Today we are going to focus on a common botanical and culinary fruit, apples! There is a good chance you have an apple or two lying around your kitchen somewhere. We are going to take a look at the outside and inside of the apple to see its floral origins and to see just what it is that makes a fruit a fruit.
Instructions
- We will begin by observing the outside of your apple. Is it red? Green? Yellow? A combination of colors? An apple’s color can depend on many things, including what kind of apple it is and how ripe it is. Is the apple bumpy or smooth? Does your apple smell like anything?
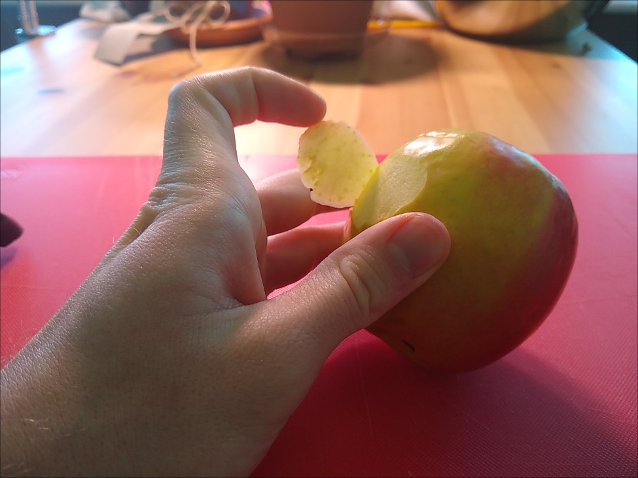
- Now take your peeler and carefully peel off a small section of your apple’s skin. Notice how thin the apple’s skin is compared to the rest of the fruit. Its skin might be thin, but an apple’s skin is its most important protection from damage. The apple’s skin is nonporous, meaning that liquids cannot get through it. If too much water got into the apple, it would start rotting before anything could eat it, and if too much water evaporated out the apple would be dry and unappetizing. By making its own natural wax, the apple keeps a moisture balance that gives it a firm texture and keeps it from decomposing too quickly.
- Now, cut your apple in half from top to bottom. Doing this should give you a cross-section of the inside of the apple. What color is the flesh, known in botany as the mesocarp? Most apples are a pale yellowish white on the inside, but some are full yellow or even pink!
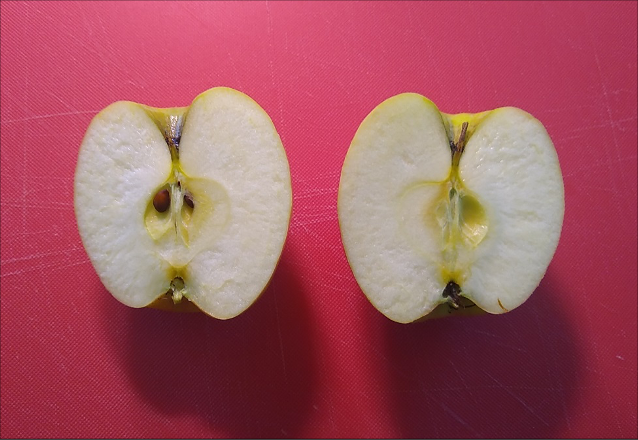
Bonus: Cut your apple in half sideways to get a different perspective on the inside!
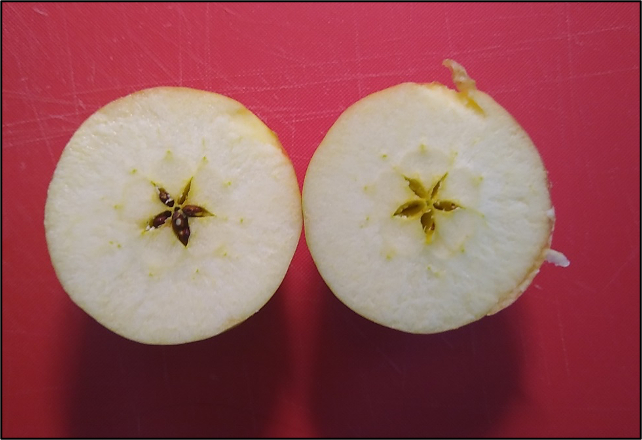
- Look towards the top of your apple halves. One of them might have a little wooden stick poking out of the top, also know as the stem. This is where the apple was connected to the tree and used to be the stem of the flower it grew from!
- Now look to the bottom of your apple. You might notice some small, shriveled green leaves; these are called the calyx. The calyx is leftover from when the apple was a flower. When the flower is budding, the calyx is a series of tough, green petals called sepals that protect the more delicate petals inside; once the flower blooms, the sepals are still visible underneath the main petals and offer them support.
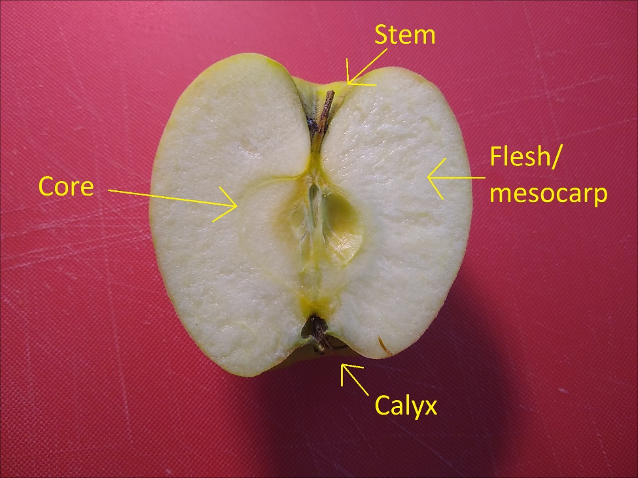
- Look towards the center of your two apple halves. You should be able to notice a faint ring around the middle, circling the seeds, also called This faint ring is part of the apple’s core, which is where the seeds form and are protected. With some toothpicks, see if you can get all the seeds out (Note: you will probably have to cut the apple into smaller slices to get all the seeds). How many seeds are there? Normally, an apple has anywhere between 5 and 13 seeds.
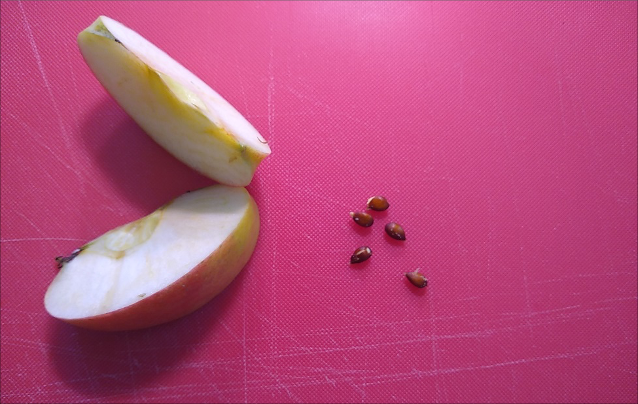
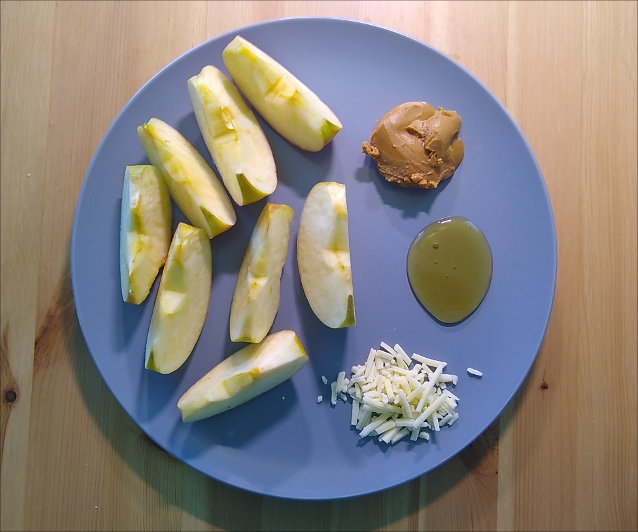
- If you haven’t already, cut your apple up into smaller pieces until you have around 8 slices. Then eat them however you like! Peanut butter, honey, or sharp cheddar cheese all go excellently with apples!
- Now try this with other fruits you might have lying around your kitchen! What are some similarities and differences you notice?
Educational Materials
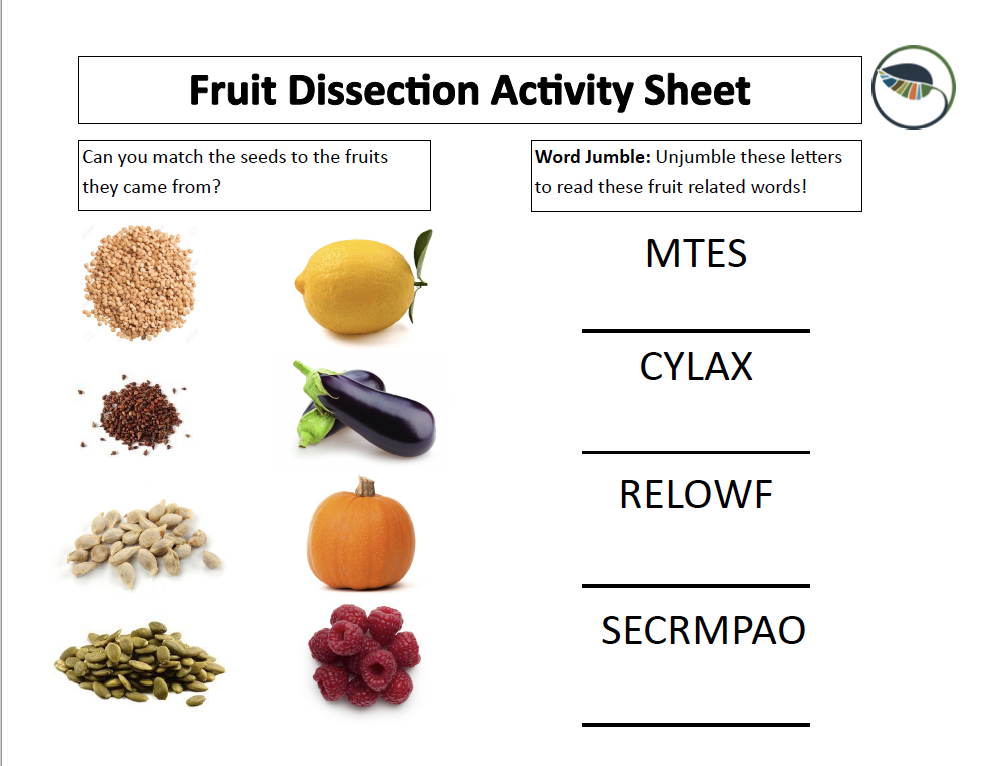
Click Here to download the activity sheet
Click Here to download the KWL worksheet
← Back to Educational Activities